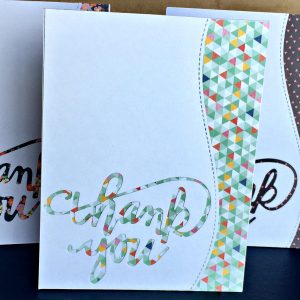
Welcome! Thanks for stopping by. I’ve got a quick and simple Thank You card to share with you today. This one has been great for making a few at a time to give as a set or just to use yourself!
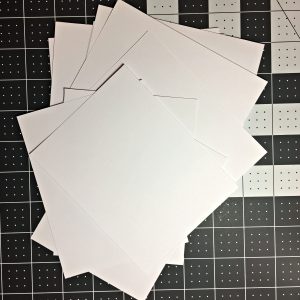
I started with some 80lb white cardstock cut to standard A2 size (5.5×4.25″) on my work surface. I wanted several pre-cut so I could make a few cards without having to cut more. I try to keep a bunch of card fronts and bases already on hand to allow more time for the fun stuff.
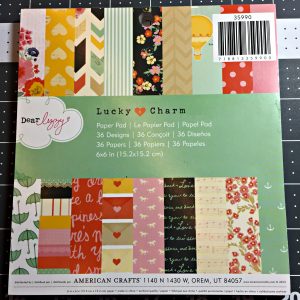
Next I picked out some pattern paper from my stash using this lovely little Dear Lizzy Lucky Charm stack.
I heard AmyR over at Prairie Paper and Ink mention in a video once to use papers from the same stack since they’re already coordinated. Trying to match papers used to stress me out but this was such a great tip! She also recommended using 6×6 stacks for cardmaking because the patterns are generally smaller and as a bonus they are much easier to store than their 12×12 counterparts. I must say, I agree!
I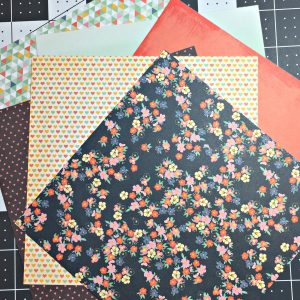 tried to pick patterns with small details as only small portions will peek out from the die cut “Thank You” sentiment, though more plain paper without images would work great too.
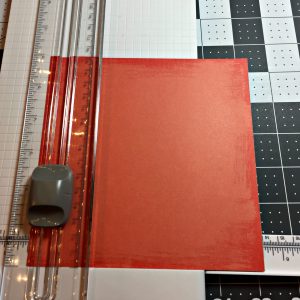
After selecting a few different papers, I cut them to the same standard A2 size (5.5×4.25″) using my paper trimmer, saving the scraps for future projects.
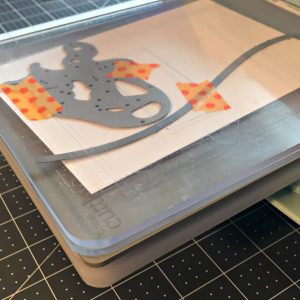
Next I needed to get my die cuts ready. I used one of the stitched hillsides from Lawn Fawn to create the wavy border with the beautiful stitching detail and the scripty Thank You die from Cricut that came with my cuttlebug. You could use any combination of dies you prefer. I used low tack tape to hold the dies in place on my paper and ran it through my manual die cutting machine. I repeat this several times so I have enough for a few cards, one for each of the pattern papers I chose earlier.
I carefully removed all the tiny pieces from the cut, being very careful not to lose any! I keep a bowl on my desk to store them all. For this card we will be using the negative space of the die cut. I keep the positive “Thank You” out on my desk so I can determine where the tiny negative pieces belong.
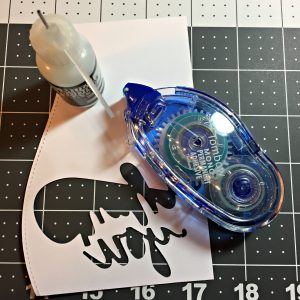 Before we begin the paper piecing, we need to attach the white die cut layer to the pattern paper. I used a tape runner plus a liquid glue for the tiny details around the cut portion. I used my favorite liquid glue (Ranger multi medium matte) with a precision tip. This glue dries quickly, holds great and dries matte so you can hardly see it if any seeps out behind your paper.
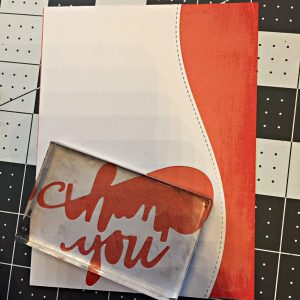 After attaching the white cardstock to the pattern paper being careful to align it neatly, I used an acrylic block as a weight to hold down the area where I had used the liquid glue.
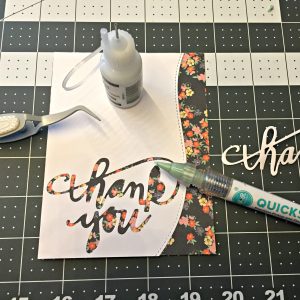
Now comes the paper piecing! I used a pair of reverse tweezers, my quick stick and the same liquid glue to carefully add all those tiny pieces I had saved from the die cutting earlier. I used the positive “thank you” words as a reference so I could be sure to put them in the right place. It’s pretty quick going once you get the hang of it.

The final step is to attach the entire layer to a standard size card base. I used a top folding base I had prepared previously (4.25×11″ folded in half at 5.5″). And, voila! all done!
I’ve been enjoying making these and hope you do too. See you for the next card!
